Introduction
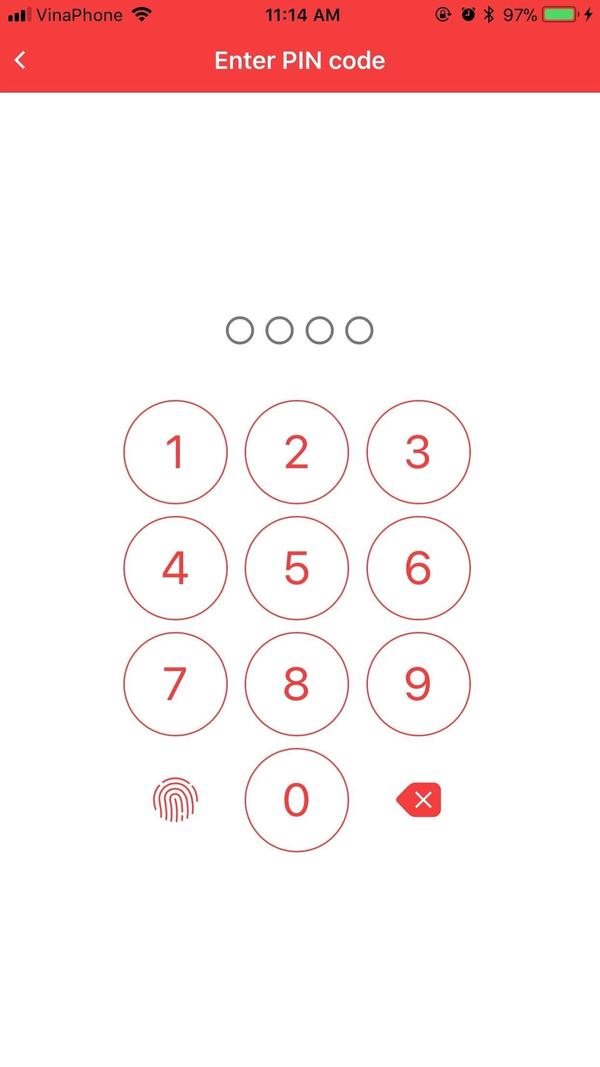
Lockscreen (not login screen) made easy with this plugin. You will have a beautiful and minimal lockscreen out of the box. The use cases might be: lock the access to a particular route or function, lock sensitive information, or typically be the very first screen for your diary/journal/finance app.
It comes as a angularjs service which is dead easy to integrate with your working project.
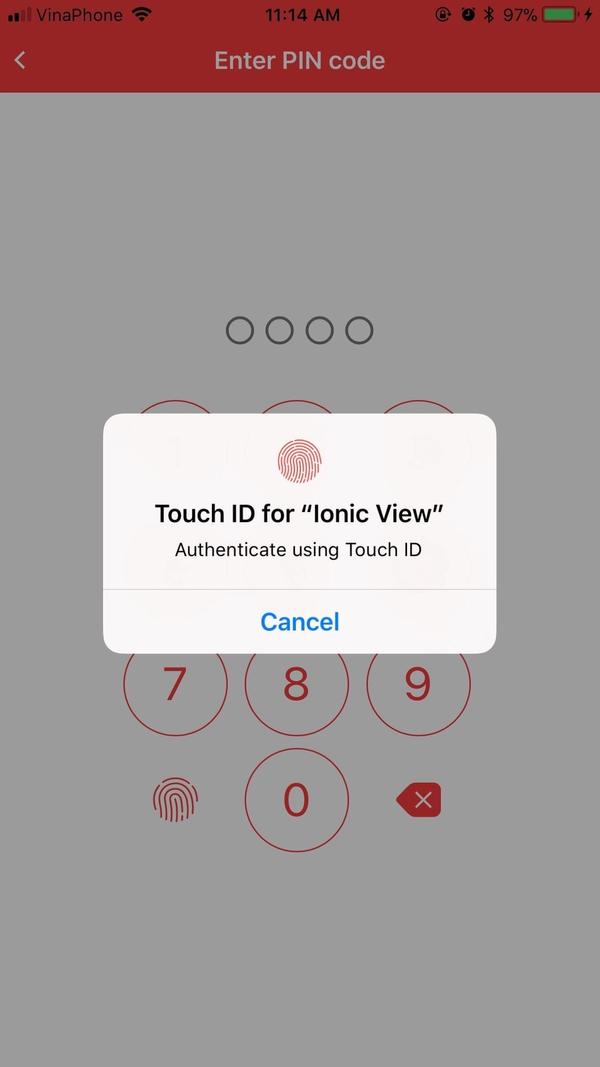
Support TouchID (iOS). Will support Android Fingerprint in the next update
Tested on iPhone 6s+.
What's in the package
- Ionic Project source code: based on the folder structure generated with
Ionic CLI - No Backend code: this is just the UI, not a fully functional app. Data is mostly static dummy unless mentioned, e.g GIF search uses the real Giphy API
Preview
Watch on Youtube
See how it works on Youtube: https://youtu.be/X-5d51jetV4
Happy prototyping!
Changelog
Note: All updates are for Ionic 3
Last updated: Feb 16 2018
v1
- First version. Will support Android Fingerprint in the next update
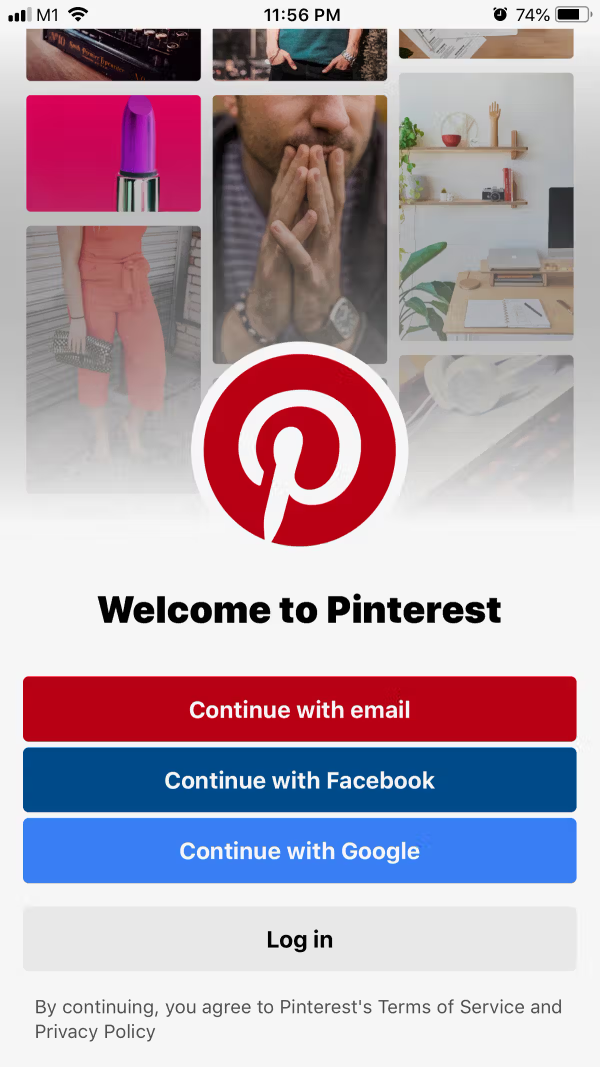
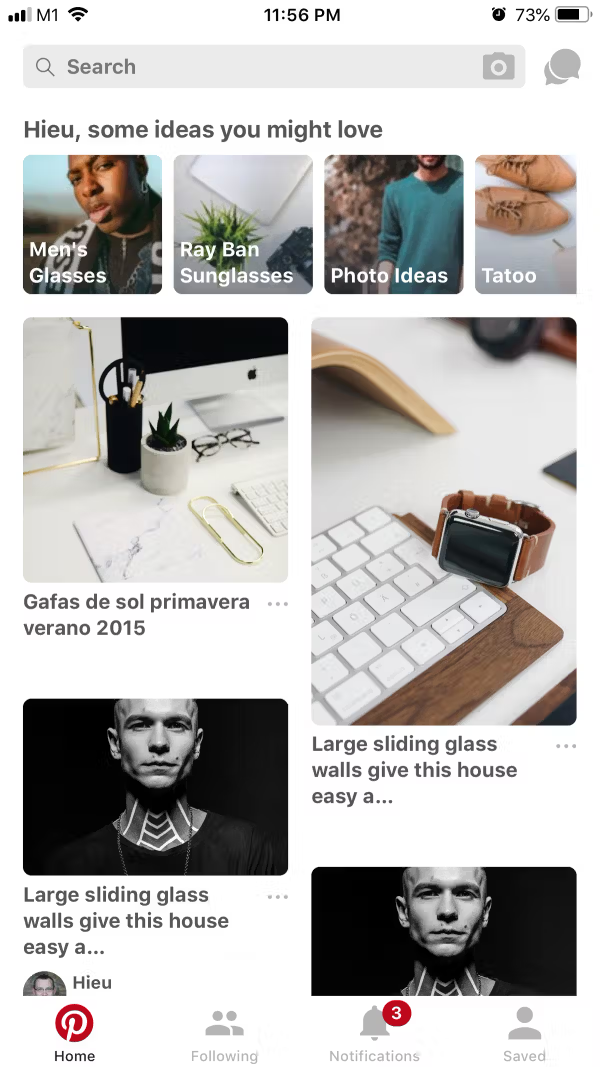
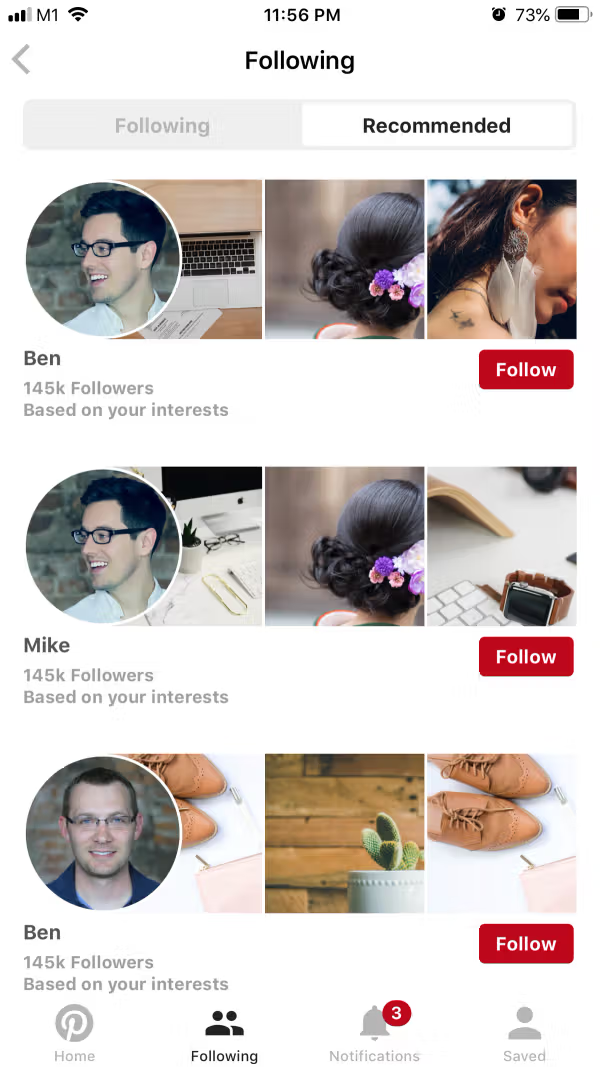
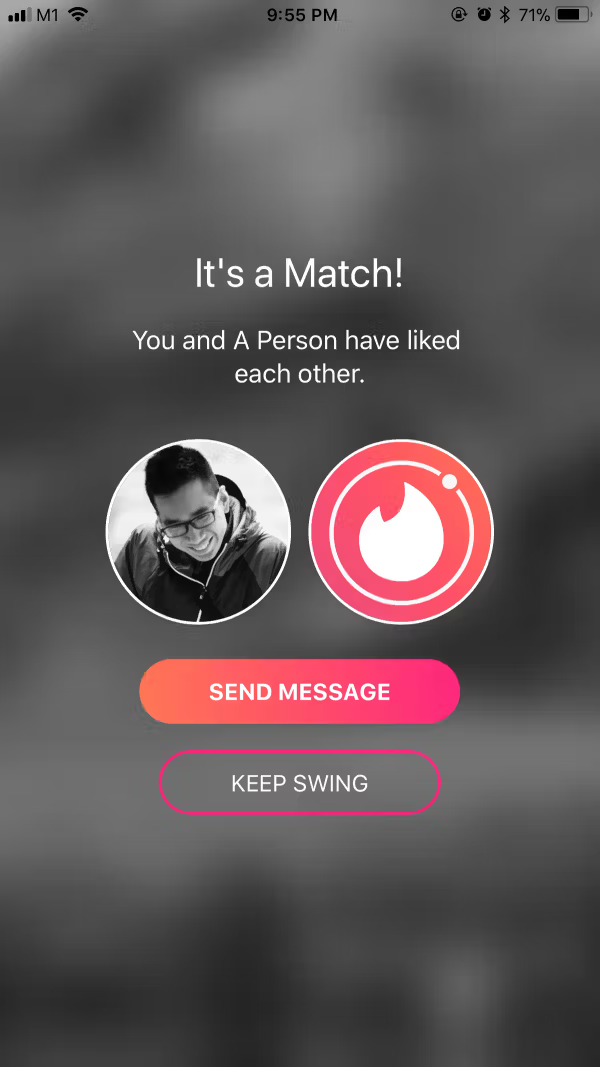
Screens
- Built-in numpad, consistent look on different the platforms
- Vibrate the phone if entering the incorrect passcode
- Configurable default length of the passcode
- Written as a service
- Support TouchID (on supported iOS devices)
Run locally
1.Install Ionic environment
$ npm install -g @ionic/cli@6.12.0
2.After purchasing, download the zip file containing the entire demo app and unzip
3.Go inside the extracted folder
4.Install all dependencies
$ npm install
5.Start local server
$ ionic serve
6.Your default browser should now automatically open the template
Notes
As a provider, it's very easy to integrate with your current project
import { LockscreenProvider } from '../../providers/lockscreen/lockscreen';
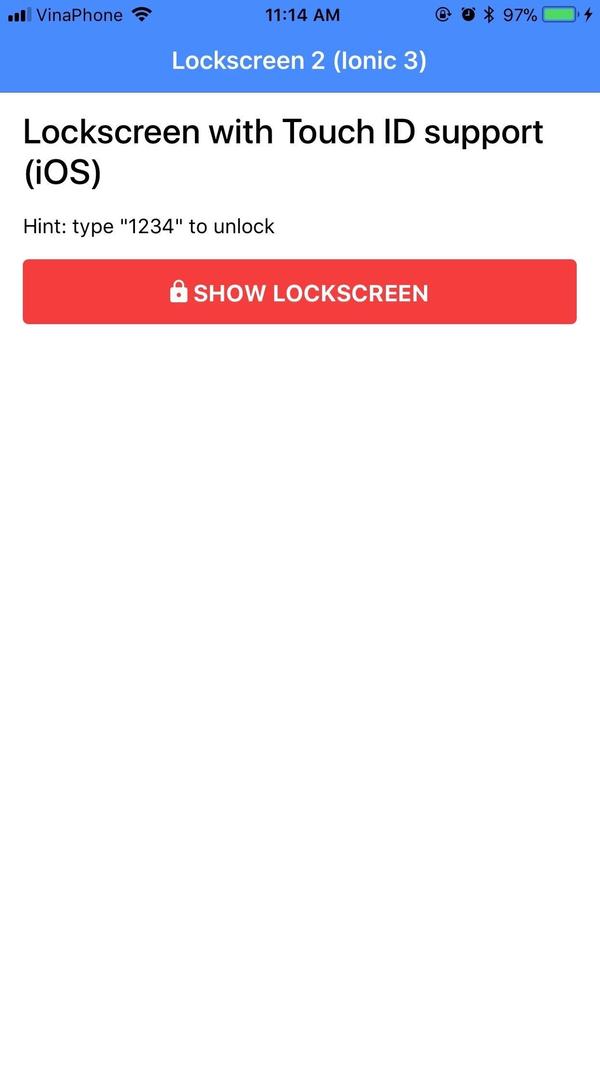
Call the only method .show() to start the lockscreen
this.Lockscreen.show({passcode: '1234', enableTouchId: true})
  .then(responseHandlerFn);
Two types of response:
- Success
{
  type: 'dismiss',
  data: true
}
- Fail
{
  type: 'cancel'
}
Dependencies
If you want to integrate this service into your project, don't forget these dependencies
- Vibration https://ionicframework.com/docs/native/vibration/
- TouchID https://ionicframework.com/docs/native/touch-id/
Build with capacitor
First of all, make sure that you can Run Locally (see the instruction above).
# build web asset (to folder www)
$ ionic build

# add platform (ios or android)
$ ionic capacitor add ios

# prepare app icons and splash images
$ npm run resources

# copy web assets into the native project
$ ionic capacitor copy ios

# open Xcode, then build the native app from there
$ ionic capacitor open ios

# OR run in live-reload mode
$ ionic capacitor run ios -l --external
See more:
Migrating a Web App Using Cordova to Capacitor
Contact
If you need any technical support or have any questions, don't hesitate to send me a message: mr_hie@yahoo.com
Homepage: https://www.takethatdesign.com
More Like This
