Introduction
I know. It took me so long to convert one of my best selling Ionic template: the Tinder UI. I just wanted to take a proper amount of time to enjoy the development on my own pace as well as deliver the best of the best practices of Ionic React. Tinder UI is now available in Ionic React 5.
The look might be exactly the same as the Angular version, but under the hood there was a lot going on to achieve the same thing on different framework. And I'm proud to say, a few things are even better with React.
Last but not least, I always take it serious to keep the code quality high, with clean and self-explained code.
What's in the package
- Ionic Project source code: based on the folder structure generated with
Ionic CLI - No Backend code: this is just the UI, not a fully functional app. Data is mostly static dummy unless mentioned, e.g GIF search uses the real Giphy API
Preview
Download APK to preview the theme:
Watch on Youtube
See how it works on Youtube: https://youtu.be/kaBSWidJ0bg
Happy prototyping!
Changelog
Note: All updates are for Ionic React
Last updated: April 5, 2021
v1 (April 5, 2021)
- First version
Screens
- Welcome
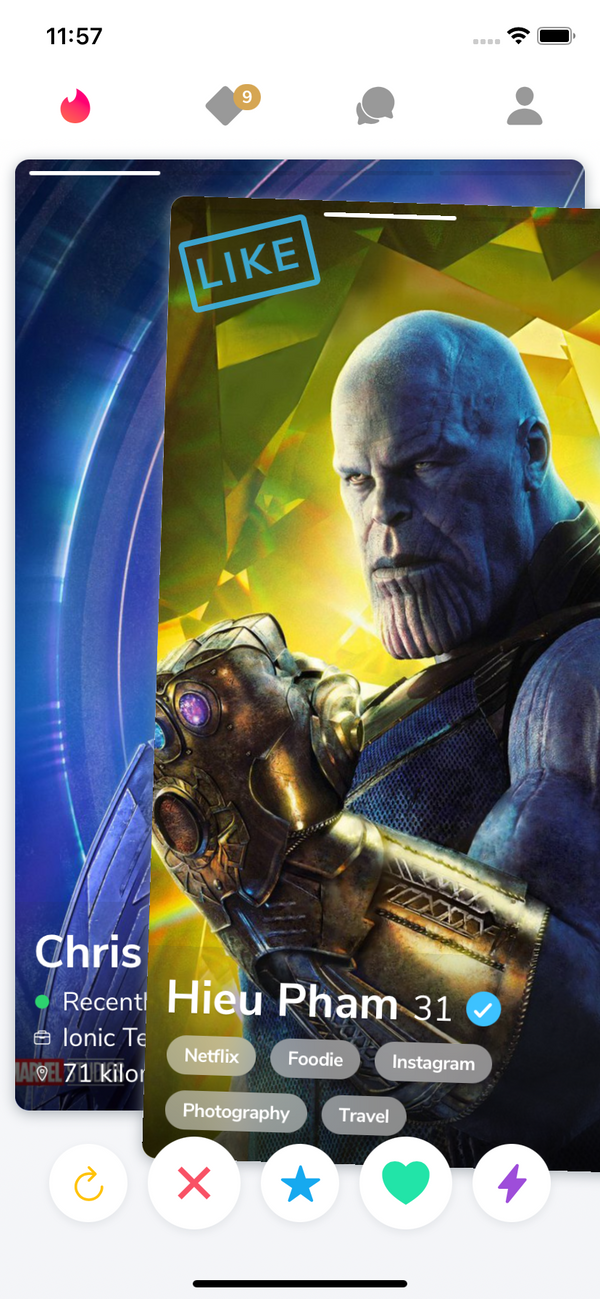
- Explore (Swiping)
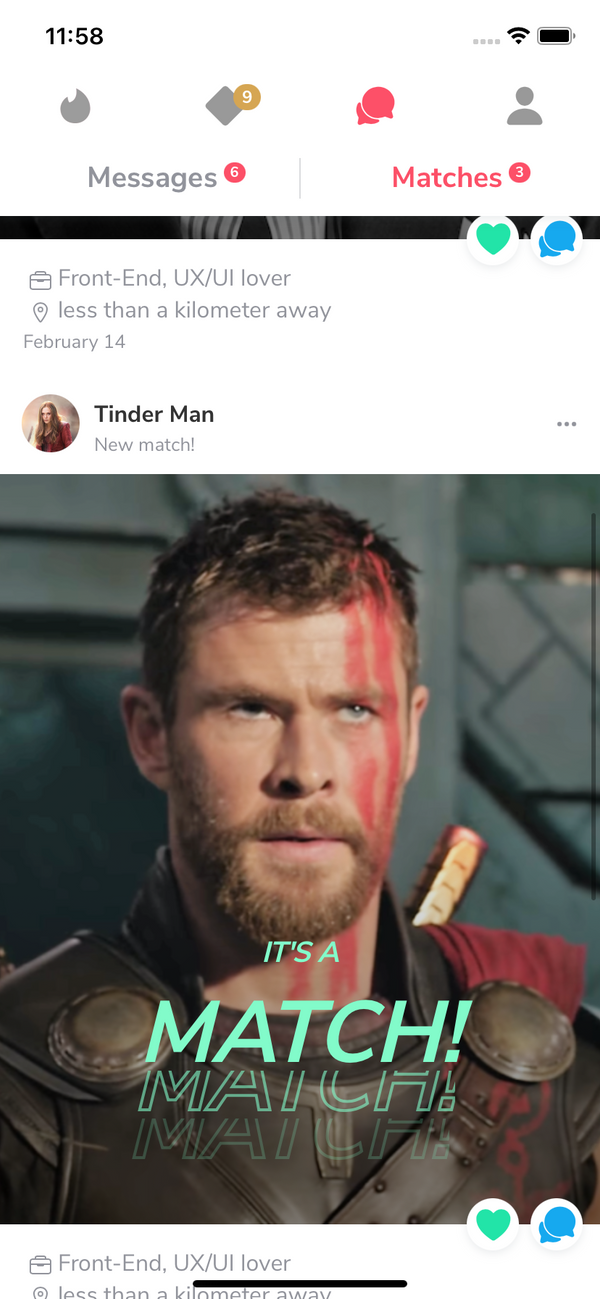
- Matched
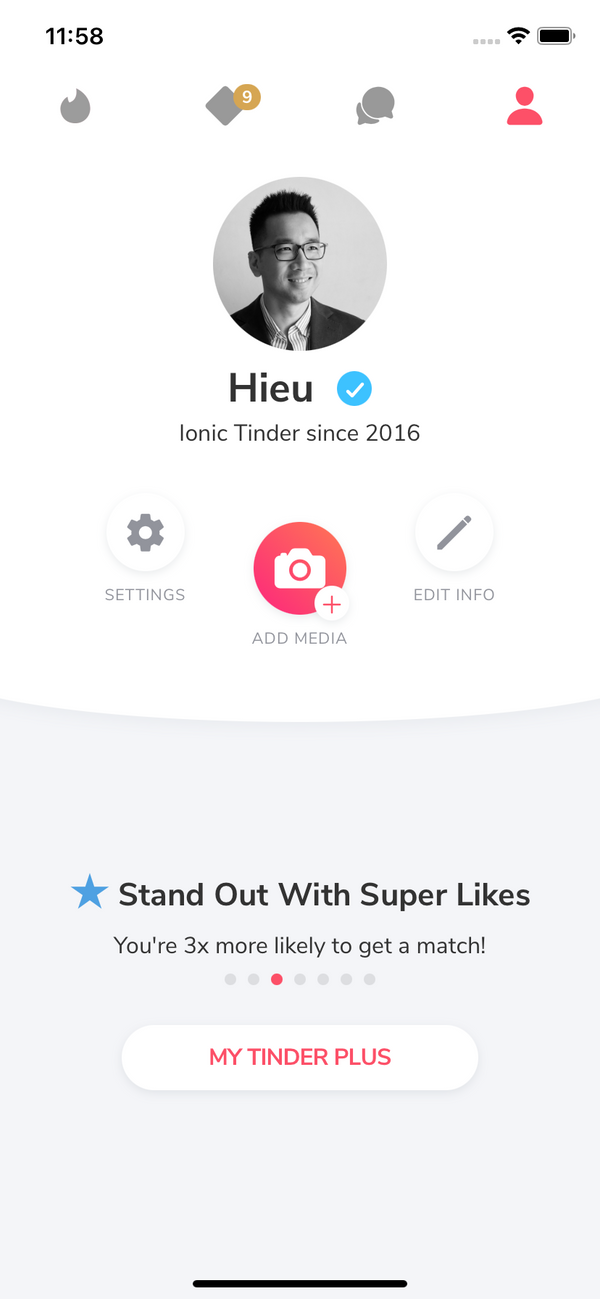
- Me
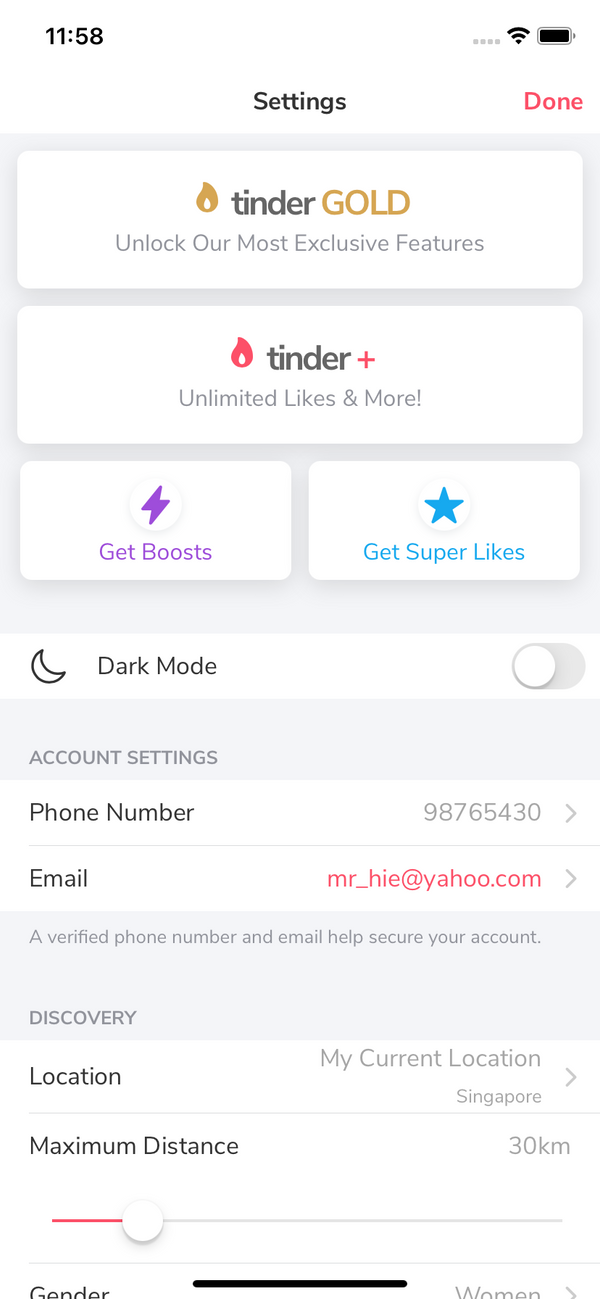
- Settings
- Profile
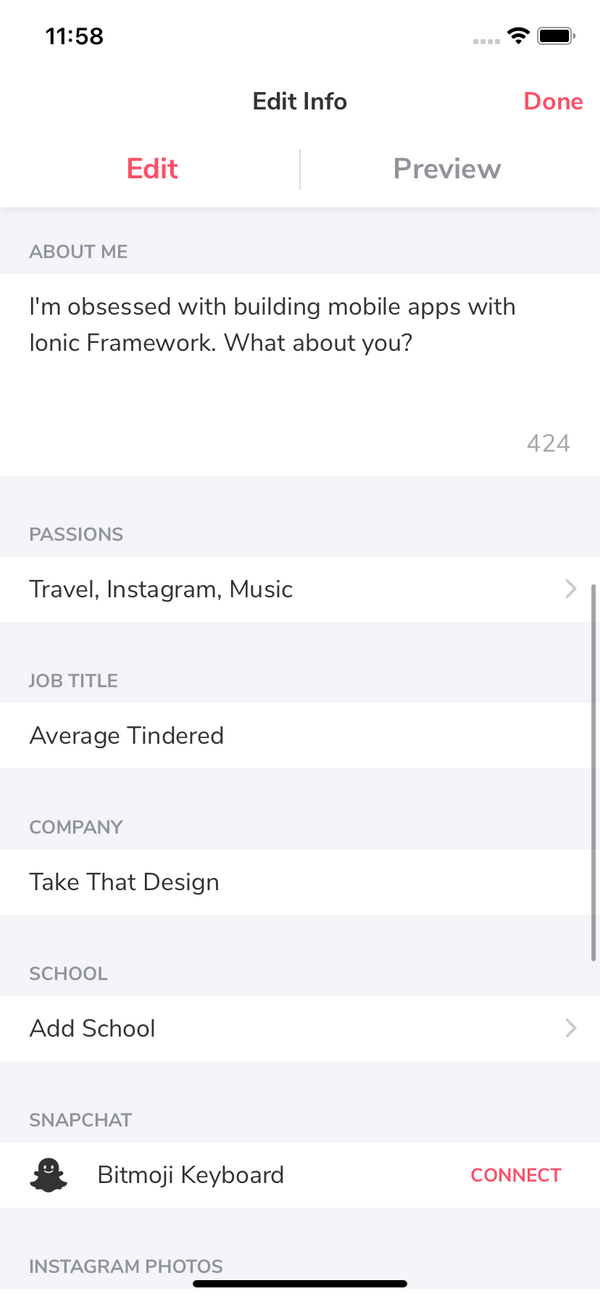
- Profile Edit
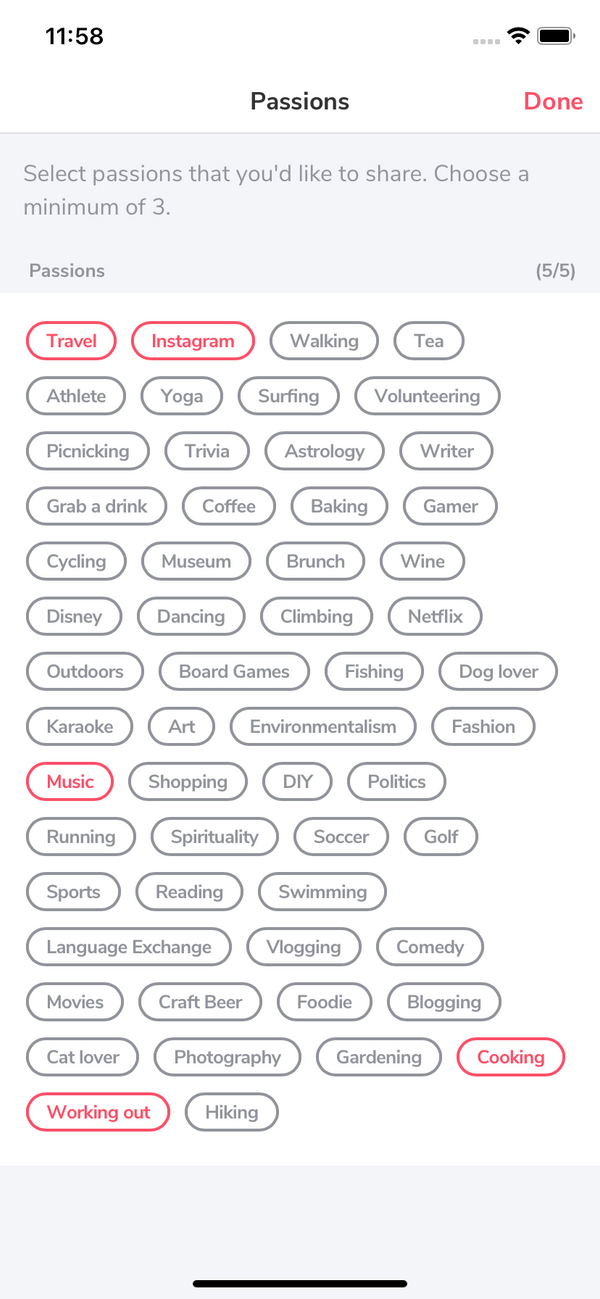
- Passions Edit
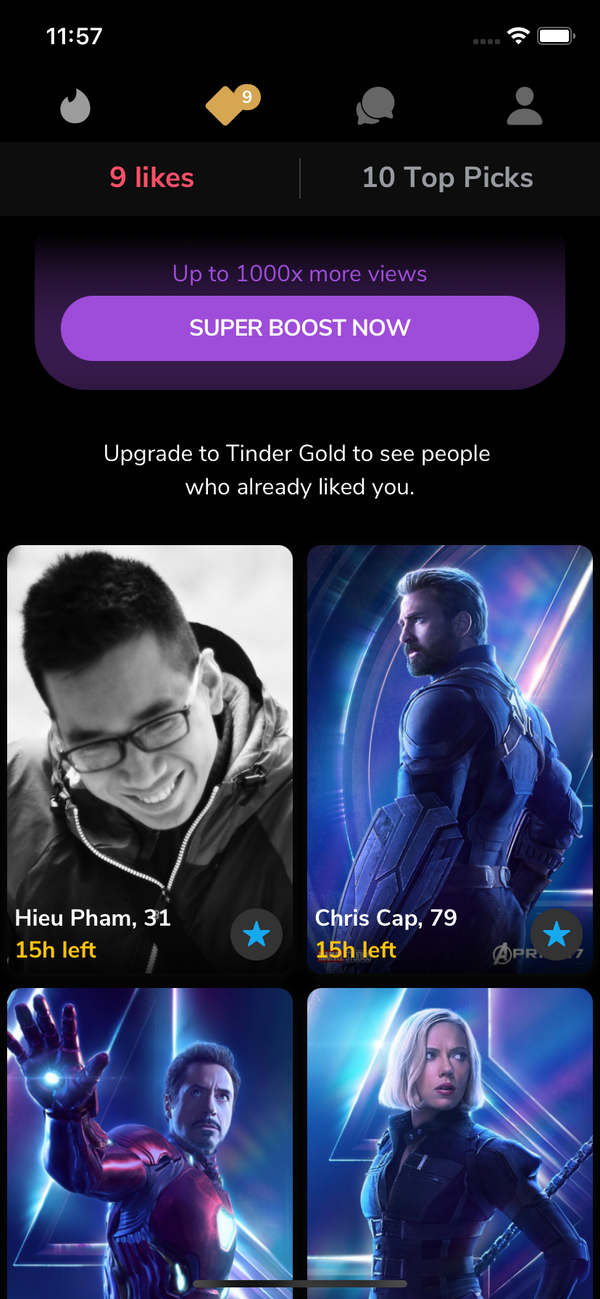
- Top picks - Likes
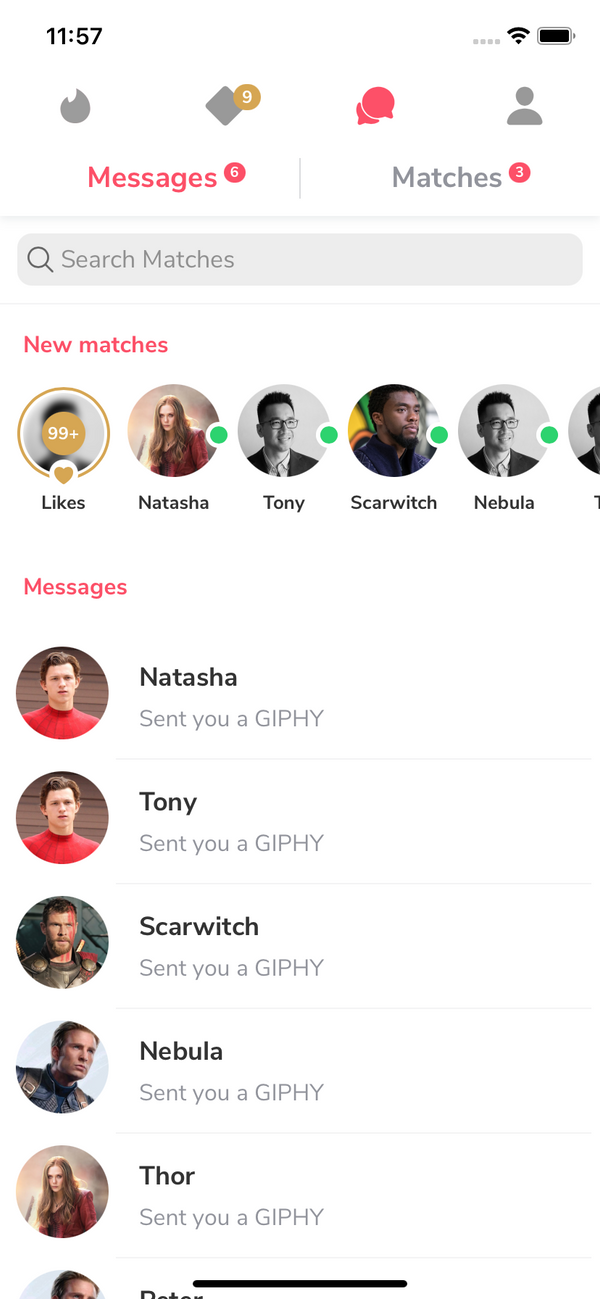
- Messaging
- Feed
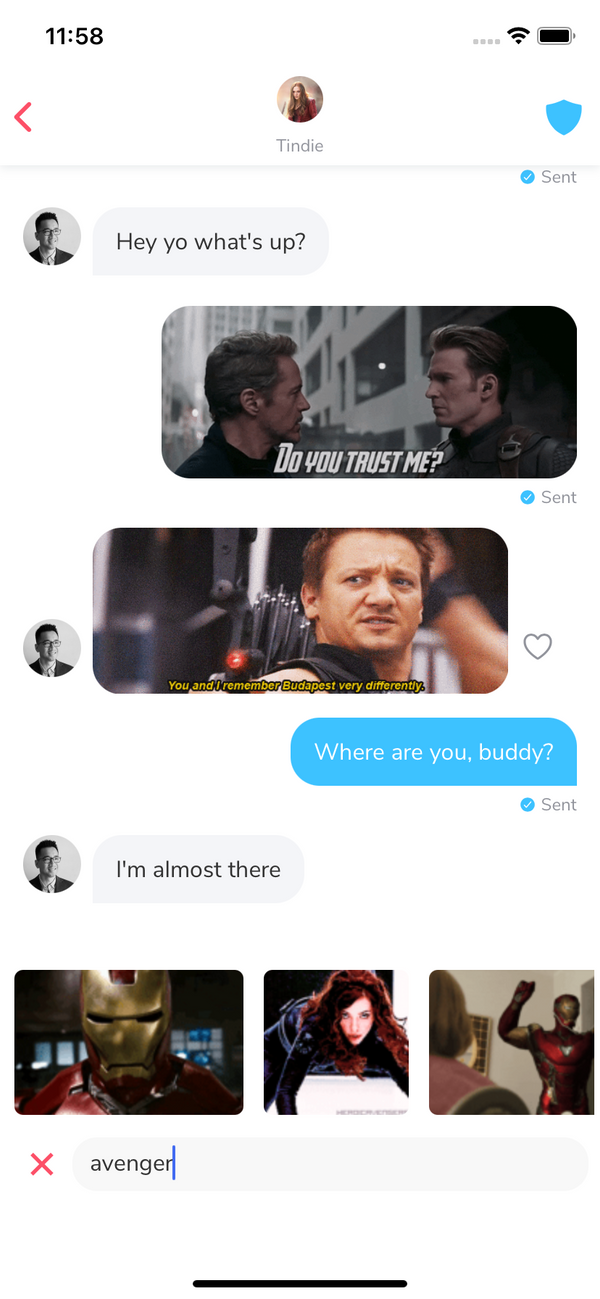
- Chat (including Giphy keyboard)
- Dark mode switch
Run locally
1.Install Ionic environment
$ npm install -g @ionic/cli@6.12.0
2.After purchasing, download the zip file containing the entire demo app and unzip
3.Go inside the extracted folder
4.Install all dependencies
$ npm install
5.Start local server
$ ionic serve
6.Your default browser should now automatically open the template
Notes
1.Modify the default theme colors to match Tinder's colors in src/sass/variables.override.scss
:root {
  /** primary **/
  --ion-color-primary: #fd5068;
  --ion-color-primary-rgb: 253,80,104;
  --ion-color-primary-contrast: #ffffff;
  --ion-color-primary-contrast-rgb: 0,0,0;
  --ion-color-primary-shade: #df465c;
  --ion-color-primary-tint: #fd6277;
  ...
2.I personally like the look on iOS so I forced the theme to iOS mode. You can config that to suit your need
# in src/App.tsx
import { setupConfig } from '@ionic/react';
setupConfig({
  mode: 'ios',
  backButtonText: '',
});
3.Dependencies
npm install --save axios lodash react-swing node-sass
Build with capacitor
First of all, make sure that you can Run Locally (see the instruction above).
# build web asset (to folder www)
$ ionic build

# add platform (ios or android)
$ ionic capacitor add ios

# prepare app icons and splash images
$ npm run resources

# copy web assets into the native project
$ ionic capacitor copy ios

# open Xcode, then build the native app from there
$ ionic capacitor open ios

# OR run in live-reload mode
$ ionic capacitor run ios -l --external
See more:
Migrating a Web App Using Cordova to Capacitor
Contact
If you need any technical support or have any questions, don't hesitate to send me a message: mr_hie@yahoo.com
Homepage: https://www.takethatdesign.com
More Like This


